How to Quantify Beta-Amyloid Plaques in Mice with ImageJ
Are you facing the tedious task of measuring beta-amyloid plaques in mouse brain sections, unsure if your counts are accurate? Drawing from my experience in mouse care and health monitoring, I’ll show you a reliable ImageJ approach that turns complex data into clear, actionable insights.
You will learn to import and optimize your images, apply precise thresholding for plaque identification, and evaluate the results with confidence.
Why Understanding Amyloid Plaque Quantification Matters for Mouse Health
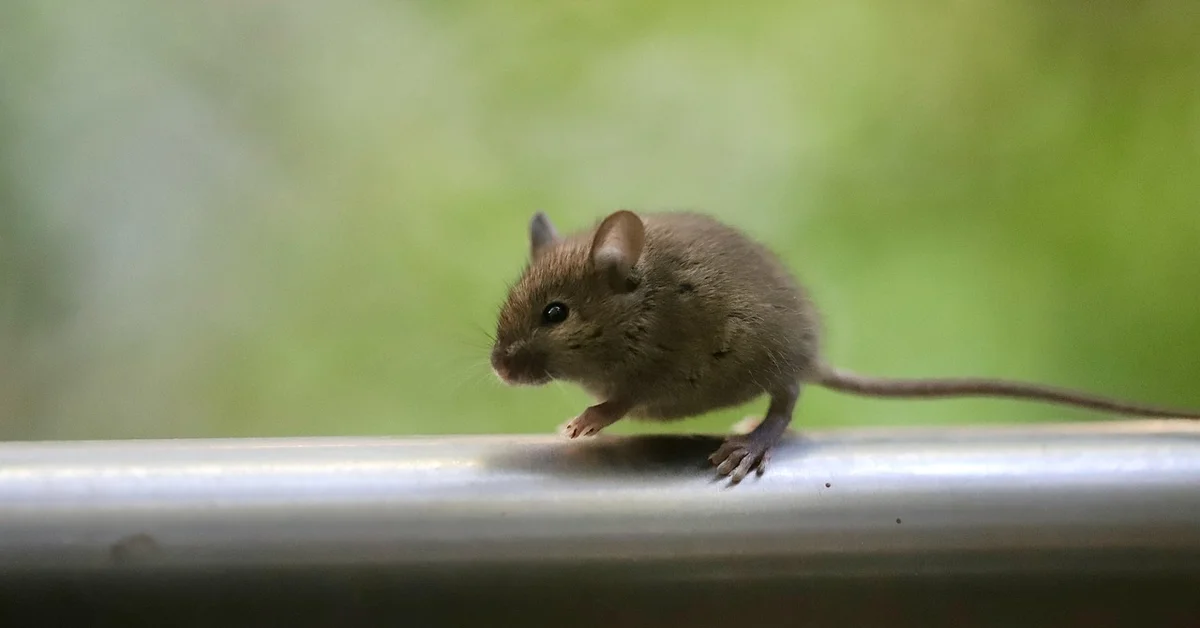
When you care for aging mice, you might notice subtle shifts in their daily rhythms. A once-bold explorer like Kenny might hesitate before climbing his favorite rope. A calm mentor like Gregory could seem more withdrawn. These behavioral whispers are often the first clues that something deeper is changing inside their brilliant little brains. Quantifying amyloid plaques isn’t just a laboratory exercise; it’s a window into the neurological well-being of your companion.
Amyloid plaques are protein clumps that can disrupt normal brain function, much like static on a radio channel. They can interfere with memory formation, learning, and even personality. By learning to measure these plaques, you transform from a passive observer into an active participant in your mouse’s health journey. You gain objective data that helps you understand why your mouse’s behavior is evolving, allowing you to tailor their environment, enrichment, and care with profound empathy. This is especially relevant in mouse models of Alzheimer’s, where plaque accumulation is a key marker of disease progression. Tracking plaques in mice both improves individual care and provides data that advances Alzheimer’s research.
I’ve seen this firsthand. Monitoring these changes provided context for Jeffrey’s increased anxiety and Gregory’s preference for quieter spaces. This knowledge empowers you to provide compassionate, informed care during your pet’s golden months, ensuring their comfort and quality of life remain the central focus. For practical help, consult the “Signs of Stress in Mice” visual behavioral guide, which highlights common cues like changes in posture, grooming, and social behavior. Learning these signs will help you spot problems early and respond with the compassionate care your pets need.
What You Need Before Starting ImageJ Analysis
Understanding ImageJ and Fiji Software
Think of ImageJ as a powerful, free digital toolkit for your microscope images. Fiji, which stands for “Fiji Is Just ImageJ,” is a fantastic pre-packaged version. It comes bundled with many essential plugins and updates, making it the ideal starting point for pet owners new to image analysis. You are not expected to be a programming expert; the interface is designed for scientists of all levels, including dedicated caregivers like you.
The software allows you to measure features in an image based on their color, intensity, and size. For amyloid plaques, which are often stained a distinct color like red or brown, this is perfect. You will be using simple tools to tell the software, “This is a plaque, and this is not,” guiding it to count and measure for you. It’s a collaborative process between your keen eye for your mouse’s health and the software’s computational power. You can use this approach at home to track changes in a mouse over time, turning observations into objective measurements. Those measurements make it easier to spot issues early and share meaningful information with your veterinarian or research team.
- A computer running Windows, Mac OS, or Linux.
- The Fiji distribution of ImageJ, downloaded for free from the official website.
- Basic comfort with opening files and navigating a simple menu system.
- Patience to learn a new skill that will deepen your connection to your pet’s health.
Image Acquisition Basics for Plaque Detection
The golden rule of image analysis is simple: garbage in, garbage out. The quality of your final plaque count is directly tied to the quality of the brain section images you start with. Your images must be clear, consistent, and well-lit to allow the software to accurately identify what you’re looking for.
Consistency is your best friend here. You want every single image you take to be under the same conditions. This means using the same magnification on your microscope, the same light intensity, and the same camera settings for every session. Imagine trying to compare the brightness of stars if you sometimes used binoculars and other times a giant telescope; the data would be meaningless. The same principle applies to your mouse’s brain sections.
Here is a quick checklist for capturing usable images:
- Focus carefully to ensure plaques appear as sharp, distinct objects.
- Ensure the entire area of interest is evenly illuminated without bright hotspots or dark shadows.
- Save your images in a lossless format like TIFF to preserve all the original data.
- Include a scale bar in your images. This allows ImageJ to calculate the real-world size of the plaques it finds.
Taking the extra time to get your images right on the front end will save you hours of frustration and uncertainty during the analysis phase. It is the most critical step you can control to ensure your results truly reflect your mouse’s condition.
Step-by-Step ImageJ Quantification Protocol
Opening and Calibrating Your Images
Your first task is to bring your brain section images into ImageJ correctly. Always use the File > Open command and ensure your image files are in a supported format like TIFF or JPEG. Proper calibration is the non-negotiable foundation that turns pixels into meaningful, measurable units. Navigate to Analyze > Set Scale. Here, you’ll input the known distance from your microscope and the corresponding pixel length. Forgetting this step means your plaque size measurements will be arbitrary numbers instead of valuable micrometers, rendering your data unreliable.
Background Subtraction and Image Preprocessing
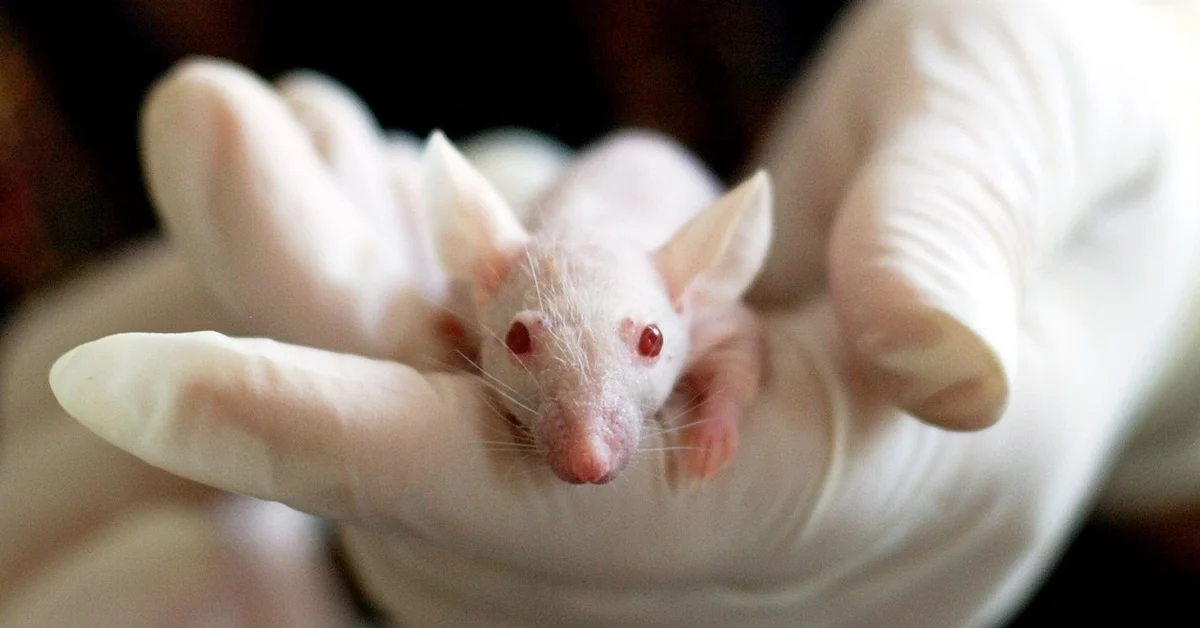
Microscope images always contain some level of uneven illumination or background “noise” that can interfere with accurate plaque detection. Think of this like trying to spot your white mouse, Jeffery, on a messy, patterned blanket versus a clean, solid-colored one. Using the Process > Subtract Background function effectively clears this visual clutter, making the plaques stand out sharply. I typically use a rolling ball radius between 50-100 pixels, which acts like a smoothing filter to isolate the true signal from the background variations. This preprocessing step dramatically improves the accuracy of everything that follows.
Thresholding to Identify Plaques
This is where you teach the software to distinguish a plaque from everything else in the image. Go to Image > Adjust > Threshold. Thresholding is the critical decision point where you define what pixel intensity constitutes a beta-amyloid plaque. You’ll manipulate the sliders until the red overlay highlights only the plaques, not the surrounding tissue. It requires a careful eye; set it too low and you’ll capture noise, set it too high and you’ll miss faint plaques. I always apply the same threshold settings across all images from one experimental set for consistency, much like I maintain a consistent environment for all my mice. Similarly, when cataloging coat patterns—marked, roan, spotted, or other irregular markings—I use consistent criteria so subtle variations aren’t misclassified. Consistency in thresholding and scoring ensures reliable comparisons across the study.
Defining ROI Selection Areas
You might not need to analyze the entire image, especially if you’re focusing on a specific brain region like the hippocampus. Using the ROI (Region of Interest) Manager allows you to selectively analyze only the areas you care about, saving time and increasing focus. Draw your desired shape-rectangle, polygon, or freehand-using the tools on the toolbar, then add it to the ROI Manager (Analyze > Tools > ROI Manager). This is perfect for comparing plaque load between different functional areas of the brain, providing much more nuanced data than a whole-image analysis.
Running Particle Analysis for Plaque Counting
Now for the automated counting! With your threshold set, go to Analyze > Analyze Particles. A dialog box will appear. This single command transforms your visual data into a quantifiable spreadsheet, counting every plaque and measuring its size. You must set a size range (in your calibrated units) to exclude tiny specks of dust or large, irregular artifacts. I also check the “Display results” and “Summarize” boxes. The summary gives you a fantastic bird’s-eye view of the total plaque count and average size for that image, which is often the core data you need.
Recording and Using ImageJ Macros
If you’re analyzing more than a couple of images, you must use macros. It’s the difference between hand-feeding each mouse individually and setting up a sustainable feeding station. Macros automate repetitive tasks, ensuring every image is processed with identical parameters and eliminating human error. These macros are especially useful if you’re building a miniature photo studio for mice, where you’ll capture many test shots to dial in lighting, backgrounds, and poses. Automating the analysis lets you quickly compare setups and choose the best conditions. Use Plugins > Macros > Record to start. Perform your standard analysis steps once-subtract background, set threshold, analyze particles. ImageJ writes the code for you. You can then run this macro on dozens of images with a single click, guaranteeing perfect consistency and saving you hours of tedious work.
Batch Processing Multiple Mouse Brain Images
When you have a cohort of mice to analyze, individual image processing becomes impractical. ImageJ’s batch processing capability is your greatest ally. Batch processing allows you to apply your meticulously crafted macro to an entire folder of images overnight, producing a unified results table by morning. When photographing pet mice, be sure to keep lighting, orientation, and scale consistent, and use clear filenames so the images can be processed uniformly. This simple consistency makes your overnight batch jobs yield reliable, comparable measurements across all your pets. For detailed tips, check out this guide. Use Process > Batch > Macro. Select your input folder (the raw images), your output folder (for processed images, if you want them), and choose the macro you recorded. The software will churn through every file, applying the exact same analysis. This method is indispensable for generating robust, comparable data across all your subjects, from a curious fellow like Kenny to a calm elder like Gregory.
Measuring Plaque Load and Morphological Features
Plaque count is just one piece of the puzzle. The physical characteristics of the plaques can tell you a great deal about the stage or progression of the condition. Going beyond simple counting to measure plaque area and circularity provides a much deeper, more descriptive understanding of the pathology. In the Analyze Particles dialog, ensure you have “Area” and “Circularity” selected. The area gives you the total plaque burden (percentage of area covered), while circularity (a value from 0 to 1) indicates shape-more diffuse, irregular plaques have a lower circularity than compact, dense ones. Tracking these morphological changes over time can be incredibly revealing.
Understanding Colocalization Analysis
This advanced technique answers the question: “Is my beta-amyloid plaque located in the same place as another protein I’m interested in?” For instance, you might stain for amyloid and for microglia, the brain’s immune cells. Colocalization analysis reveals spatial relationships between different biomarkers, showing if plaques are associated with an inflammatory response. You need two images of the same section, each showing a different color channel (e.g., red for amyloid, green for microglia). Use Plugins > Colocalization > Colocalization Threshold. The software provides coefficients like Pearson’s Correlation, which quantifies how much the red and green signals overlap. Seeing a high correlation can be a powerful finding, linking plaque presence directly to another biological process.
Exporting Data and Preparing for Statistical Analysis
Once you’ve meticulously counted plaques across all your images, you’ll have a spreadsheet full of numbers that need structure. I always create a master spreadsheet with clear columns for Mouse ID, Brain Region, Image File Name, and the final plaque count. This organization is as vital as knowing which of my mice, like Kenny, is the bold explorer versus which, like Gregory, is the calm mentor; it provides essential context for your data. When introducing new mice to your existing group, add fields for Arrival Date and Compatibility Notes so you can correlate plaque counts with social integration. Following the steps in the “new mice your existing group — complete guide” helps ensure you collect the extra context needed for reliable comparisons.
Exporting from ImageJ is straightforward but requires attention to detail. From the ‘Results’ window, you simply go to File > Save As and choose a.csv format. This comma-separated value file is the universal key that opens the door to statistical software like GraphPad Prism or even Excel. I make a habit of saving a fresh, uniquely named file after analyzing each mouse to prevent any accidental data loss or overwriting.
Organizing Your Data for Clarity
- Use Descriptive File Names: Instead of “Mouse1.tif,” use identifiers like “Kenny_Hippocampus_Week12.tif.” This links the raw image directly to its analysis.
- Create a Master Key: Keep a separate document that explains any abbreviations used for brain regions or experimental groups.
- Backup Religiously: Save your ImageJ macro, your raw images, and your exported data files in separate, clearly labeled folders.
Common ImageJ Quantification Challenges and Solutions
Every time I sit down to analyze a new batch of images, I expect a few hurdles. The most frequent issue is inconsistent staining intensity, which can make some plaques nearly invisible and others glaringly bright. This isn’t a failure on your part; it’s a reality of biological samples. My approach is to process all images from a single experimental group using the exact same threshold settings to ensure comparability.
Another common frustration is distinguishing true plaques from background noise or small, non-specific artifacts. Adjusting the ‘minimum particle size’ in the Analyze Particles dialog is your most powerful tool for filtering out this irrelevant debris. I often run a test on a few images, visually checking to see if the outlined particles match what my eye identifies as a true plaque, before applying the settings to the entire dataset.
Troubleshooting Quick Guide
- Problem: Fused Plaques. Two plaques close together are counted as one large object.
- Solution: Use the ‘Watershed’ function in the Binary menu before counting. This digitally separates touching particles.
- Problem: Uneven Lighting. The image is brighter on one side, throwing off the threshold.
- Solution: Use the ‘Subtract Background’ tool (Process menu) with a rolling ball radius appropriate for your plaque size.
- Problem: Weak Signal. Plaques are very faint and hard to distinguish.
- Solution: Slightly increase the contrast (Image > Adjust > Brightness/Contrast) uniformly across all images before thresholding.
Specialized Plugins for Amyloid Plaque Analysis
While the core ImageJ functions are powerful, several community-developed plugins can automate and refine the plaque quantification process. These tools are like having a dedicated assistant who knows exactly what you’re looking for, saving you hours of manual adjustment. I was skeptical at first, but incorporating a good plugin transformed my workflow from a tedious task into a streamlined procedure.
The most well-regarded option is the “Plaque Tool” plugin, designed specifically for amyloid-beta analysis. This plugin can automatically detect plaques, measure their area and intensity, and even classify them by size, providing a much richer dataset than a simple count. It handles many of the common challenges, like background subtraction and particle separation, with built-in algorithms.
How to Install and Use a Plugin
- Download the plugin.jar file from a trusted source like the ImageJ wiki.
- Place the file in the ‘Plugins’ folder within your ImageJ directory.
- Restart ImageJ. The new plugin will appear under the Plugins menu.
- Run the plugin on a test image to familiarize yourself with its settings and output.
- Process a small batch of images, comparing the plugin’s results with your own manual counts to validate its accuracy for your specific staining protocol.
Frequently Asked Questions
What is the ImageJ amyloid quantification protocol?
The ImageJ amyloid quantification protocol is a systematic approach to measure beta-amyloid plaques in mouse brain sections using the software’s analytical features. It guides you through essential stages like image calibration, background correction, and thresholding to isolate plaques, followed by particle analysis for counting and sizing. This method provides objective data on plaque load, helping you monitor neurological changes in your pet mice and make informed care decisions based on reliable metrics.
What is the ImageJ amyloid quantification tool?
The ImageJ amyloid quantification tool encompasses the software’s core functions and specialized plugins used to identify and measure plaques accurately. Key components include the Threshold adjuster for distinguishing stained plaques from tissue background and the Analyze Particles feature for automated counting and size measurements. Additionally, plugins like the Plaque Tool can automate detection and classification, streamlining the process for consistent results across multiple images.
How does ImageJ ensure accurate plaque measurement?
ImageJ ensures accuracy through customizable settings and preprocessing steps that reduce errors, such as background subtraction to eliminate noise and size filters in particle analysis to exclude artifacts. By using macros for batch processing, you apply the same parameters to all images, maintaining consistency. This reliability allows you to trust the data when assessing your mouse’s health trends over time.
Your Path Forward
Learning to quantify beta-amyloid plaques with ImageJ might feel like a big step, but it equips you with a deeper lens into your mouse’s well-being. This skill lets you move from guesswork to grounded observations, helping you catch subtle health shifts early on, especially when evaluating the effects of enrichment on mouse brain health.
With patience and practice, you can turn complex data into actionable insights for your mice’s care routine. Your willingness to explore these methods reflects the heartfelt dedication that makes a true mouse enthusiast. These techniques can be incorporated into a mouse quality-of-life framework to track welfare indicators and guide practical improvements. Applying such a framework helps translate observations into targeted changes that enhance your mice’s health, comfort, and enrichment.
Further Reading & Sources
- Staining and Quantification of β-Amyloid Pathology in Transgenic Mouse Models of Alzheimer’s Disease – PMC
- Frontiers | Comparison of the Amyloid Load in the Brains of Two …
- How to quantify beta amyloid plaques using ImageJ? | ResearchGate
Isabella is a passionate small pet enthusiast with over 8 years of experience in caring for mice. She loves sharing practical tips and heartfelt stories to help fellow mouse owners provide the best care for their tiny companions.
Mice in Science & History